
Editing subtitles may seem like a meticulous task reserved for professional video editors, but with the right approach and tools, it becomes a precise, efficient, and even satisfying process. Whether you’re improving accessibility, localizing content for global audiences, or fixing poorly timed captions, mastering subtitle editing can dramatically enhance the viewing experience. Among the many tools available, Subtitle Edit software stands out for its versatility, automation features, and powerful synchronization capabilities.
TLDR: Subtitle Edit software helps you quickly synchronize, correct, and format subtitles with precision. By using waveform visualization, auto-sync tools, batch corrections, and built-in spell checks, you can dramatically reduce editing time. Organizing your workflow and understanding key shortcuts makes the process even faster. With the right techniques, subtitle editing can shift from tedious to streamlined and professional.
Why Efficient Subtitle Editing Matters
Subtitles are more than just text on a screen—they are essential for:
- Accessibility for deaf and hard-of-hearing viewers
- Language translation for global audiences
- Improved comprehension in noisy environments
- Search engine indexing and video discoverability
Poorly edited subtitles—out of sync timing, spelling errors, awkward line breaks—can distract viewers and reduce credibility. Efficient editing ensures subtitles are clean, readable, and perfectly timed.
Getting Started with Subtitle Edit Software
Subtitle Edit is a free, open-source subtitle editor that supports a wide range of formats such as SRT, ASS, SUB, and more. Before jumping into editing, make sure you:
- Install the latest version of Subtitle Edit.
- Load your video file directly into the program.
- Import the corresponding subtitle file.
- Set frame rate and encoding correctly.
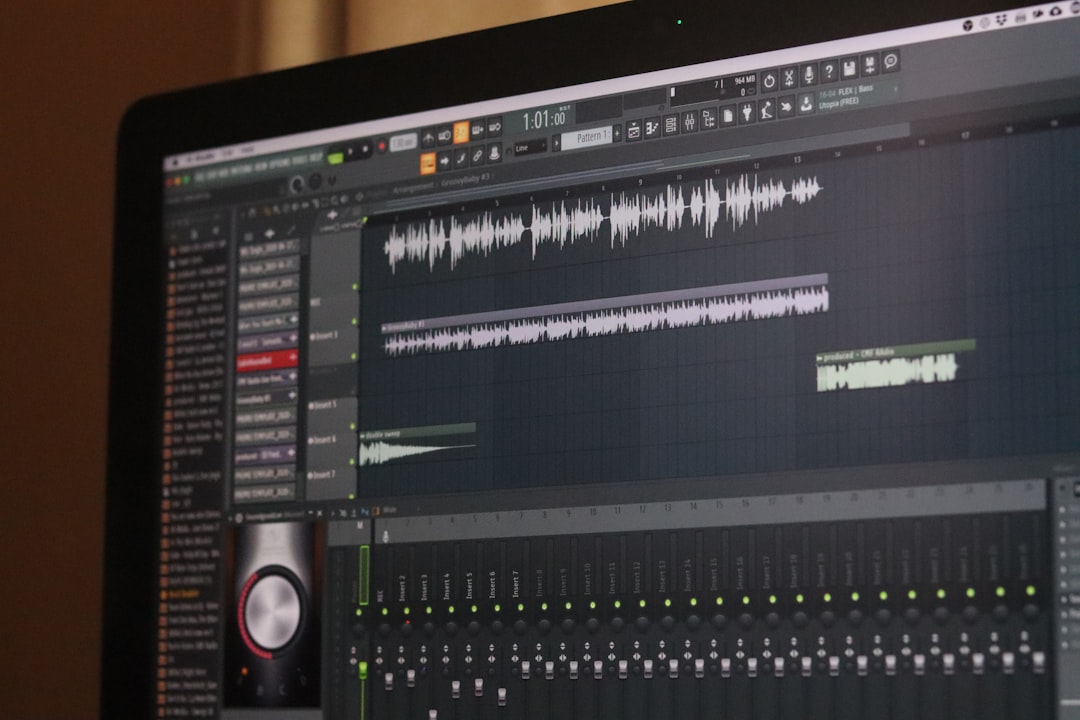
One of the first advantages you’ll notice is the visual waveform display, which significantly improves accuracy when syncing dialogue.
Step 1: Synchronizing Subtitles Efficiently
Timing is the backbone of subtitle editing. Subtitle Edit provides several powerful synchronization methods:
1. Visual Waveform Alignment
Using the waveform and spectrogram view allows you to match subtitle timing with audio peaks. Spoken words create visible spikes, making it easier to set precise start and end times.
2. Auto-Sync Feature
If subtitles are slightly delayed or ahead, use the “Adjust all times” tool to shift them forward or backward. For more complex discrepancies, the “Visual Sync” feature helps align subtitles to specific spoken sentences.
3. Sync Using Key Points
If only parts of the file are misaligned, set two synchronization points—one early and one later in the timeline—and Subtitle Edit will interpolate timing across the entire file.
Efficiency Tip: Instead of manually adjusting each subtitle line, use batch timing adjustments to save hours of work.
Step 2: Cleaning and Formatting Text
Once timing is correct, focus on text quality and readability.
1. Line Length Optimization
Subtitles should generally:
- Stay under 42 characters per line
- Use a maximum of two lines
- Break lines at natural speech pauses
Subtitle Edit’s “Fix Common Errors” tool automatically detects overly long lines and improper breaks.
2. Spell Check and Auto-Correction
The built-in spell checker helps eliminate typos quickly. You can also add custom dictionaries for industry-specific terminology.
3. Consistent Formatting
Maintain uniform:
- Punctuation style
- Capitalization rules
- Speaker identification format
- Use of italics for off-screen dialogue
Using search and replace functions can standardize formatting across the entire subtitle file in seconds.
Step 3: Leveraging Automation Features
Efficiency skyrockets when you use automation wisely.
Auto-Translate (with Caution)
Subtitle Edit integrates with translation engines to generate quick drafts. Always review machine translations for context accuracy.
Batch Fixes
The software allows batch corrections, including:
- Fixing overlapping subtitles
- Adjusting minimum display time
- Standardizing frame rates
Remove Hearing Impaired Text
If required, you can remove bracketed descriptions like “[door slams]” in one automated action.
Pro Tip: Run “Fix Common Errors” before final export—it catches issues you might overlook manually.
Working with Multiple Subtitle Formats
Different video platforms require specific subtitle formats. Subtitle Edit supports conversion between formats seamlessly.
Common formats include:
- SRT: Simple and widely supported
- ASS: Advanced styling support
- VTT: Web-based platforms
- SUB/IDX: DVD subtitles
You can convert files via File → Save As, selecting the desired format. Always verify encoding (UTF-8 is safest for multilingual projects).
Keyboard Shortcuts That Save Time
Mastering shortcuts reduces repetitive mouse actions.
- Ctrl + Shift + S: Adjust display time
- Ctrl + D: Set end time
- Ctrl + Space: Play/Pause video
- Alt + Arrow Keys: Fine-tune timing
Over time, using shortcuts can cut editing time by up to 40% compared to manual clicking.
Organizing Your Subtitle Editing Workflow
An efficient workflow typically follows this sequence:
- Import video and subtitle file
- Set correct frame rate
- Synchronize timing
- Run error detection tools
- Manually refine text and breaks
- Perform spell check
- Preview entire video
- Export in desired format
Previewing is crucial—always watch the full video with subtitles to ensure natural pacing and readability.

Handling Advanced Editing Scenarios
Dealing with Frame Rate Mismatches
If subtitles drift progressively out of sync, the likely cause is a frame rate mismatch. Use the “Change Frame Rate” tool to convert between, for example, 23.976 fps and 25 fps.
Fixing Overlaps and Gaps
Overlapping subtitles confuse viewers. The “Fix Overlapping Display Times” tool corrects these instantly.
Editing for Reading Speed
Subtitle Edit calculates characters per second (CPS). Ideally, subtitles should stay between 12–20 CPS to maintain readability.
Comparison of Popular Subtitle Editing Tools
While Subtitle Edit is powerful, it’s useful to understand how it compares to other tools.
| Feature | Subtitle Edit | Aegisub | Amara |
|---|---|---|---|
| Cost | Free | Free | Free / Paid Plans |
| Waveform Visualization | Yes | Yes | No |
| Auto-Sync Tools | Advanced | Moderate | Basic |
| Format Support | Extensive (200+) | Limited | Web-focused |
| Best For | Professional & detailed editing | Styled anime subtitles | Collaborative online work |
Conclusion: For precision timing and bulk editing efficiency, Subtitle Edit offers the most robust feature set.
Common Mistakes to Avoid
- Letting subtitles overlap significantly
- Using inconsistent punctuation
- Ignoring reading speed limits
- Failing to review after exporting
Even advanced users should regularly preview on different screen sizes—TV, desktop, and mobile—to ensure readability across platforms.
Final Thoughts
Efficient subtitle editing is a blend of technical precision, linguistic clarity, and workflow optimization. Subtitle Edit software provides the tools necessary to handle everything from simple timing corrections to complex multi-format projects. By leveraging waveform visualization, auto-sync features, batch corrections, and structured workflows, you can dramatically reduce editing time while maintaining exceptional quality.
The key is not just knowing what the tools do—but understanding when to use them. With consistent practice and smart automation, subtitle editing transforms from a repetitive chore into a streamlined, professional process that enhances both accessibility and audience engagement.
Comments are closed.