
Experiencing a Mac installation error can be both frustrating and confusing, especially if you were expecting a smooth upgrade or fresh install. Whether you’re upgrading to macOS Sonoma or performing a clean install from a USB drive, you might encounter messages like “An error occurred while preparing the installation” or “macOS could not be installed on your computer.” Fortunately, there are several practical steps you can take to identify and resolve the issue.
Common Causes of Mac Installation Errors
Before diving into fixes, it’s helpful to understand some common reasons behind installation failures:
- Incompatible macOS version
- Corrupt installer files
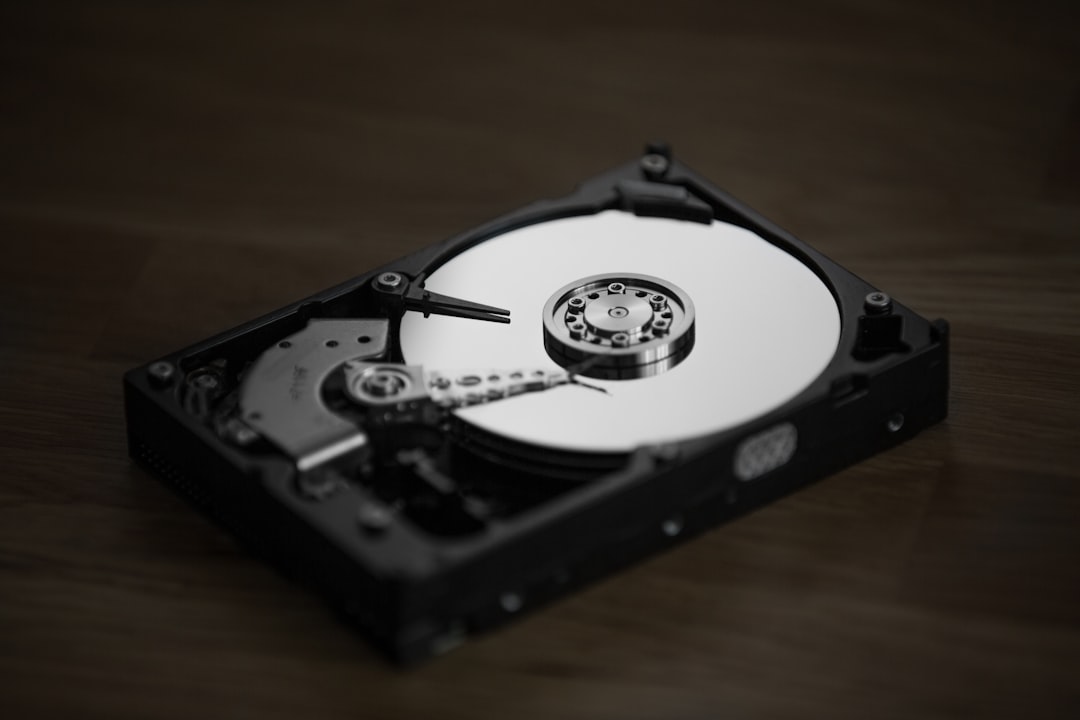
- Old or failing hard drive
- Time and date issues
- Firmware password is enabled
Depending on the scenario, the solution will vary. Let’s walk through tried-and-true methods to fix a Mac installation error.
1. Check System Compatibility
Make sure your Mac supports the macOS version you’re installing. Apple’s official website lists compatible models for each new release. Trying to install a newer macOS on an unsupported device almost always leads to an error.

2. Verify the Installer
If you’re using a bootable USB drive or downloaded installer, there’s a chance the file has been corrupted. Here’s how to verify:
- Download the installer directly from the App Store or Apple official site.
- Delete your current installer file, then re-download it.
- Ensure that you have enough free storage space (preferably 20GB+).
Using third-party download sites can result in tampered or incomplete installers, so always opt for official sources.
3. Reset the Date and Time
A surprising number of Mac installation errors stem from incorrect system date and time settings. To check and fix this:
- Boot into macOS Utilities.
- From the top menu, select Utilities > Terminal.
- In the Terminal, type:
dateand press Return. - If the date is wrong, use this command to reset it:
date mmddhhmiyy
For example:date 061719302024for June 17, 7:30 PM, 2024.
Once adjusted, close Terminal and try the installation again.
4. Erase Disk and Reinstall
If you are continuously running into errors despite attempts to use a good installer, your drive might be the issue. Back up your data and follow these steps:
- Boot into macOS Recovery by holding Command + R upon startup.
- Choose Disk Utility from the menu.
- Select your primary disk (usually named Macintosh HD) and click Erase.
- Format as APFS or Mac OS Extended (Journaled), depending on macOS version.
- Return to the main menu and choose Reinstall macOS.
Note: Erasing the disk will delete all data, so ensure you have a Time Machine or other backup solution in place.
5. Turn Off Firmware Password
If your Mac has a firmware password enabled, it can prevent changes to the boot sequence and stop macOS from installing properly. To disable it:
- Boot into macOS Recovery.
- Click on Utilities > Startup Security Utility.
- Enter the firmware password and disable it.
Firmware protection is useful for security, but it can interfere with system-level operations like installation.
6. Install via Internet Recovery
If nothing else works, you can try Internet Recovery Mode:
- Restart your Mac and hold down Option + Command + R.
- Wait for the spinning globe to appear. This boots macOS directly from Apple’s servers.
- Follow prompts to install macOS.
Internet Recovery ensures you’re installing the correct macOS version matched to your hardware, making it a reliable fallback strategy.
Final Thoughts
Fixing a Mac installation error can often be as simple as correcting your date settings or re-downloading the installer. However, in more complex cases, you may need to erase your drive or even contact Apple Support. As a rule of thumb, always back up your data before performing system changes, especially installations.
With patience, careful troubleshooting, and the right tools, you can get your Mac running again in no time.
Comments are closed.