
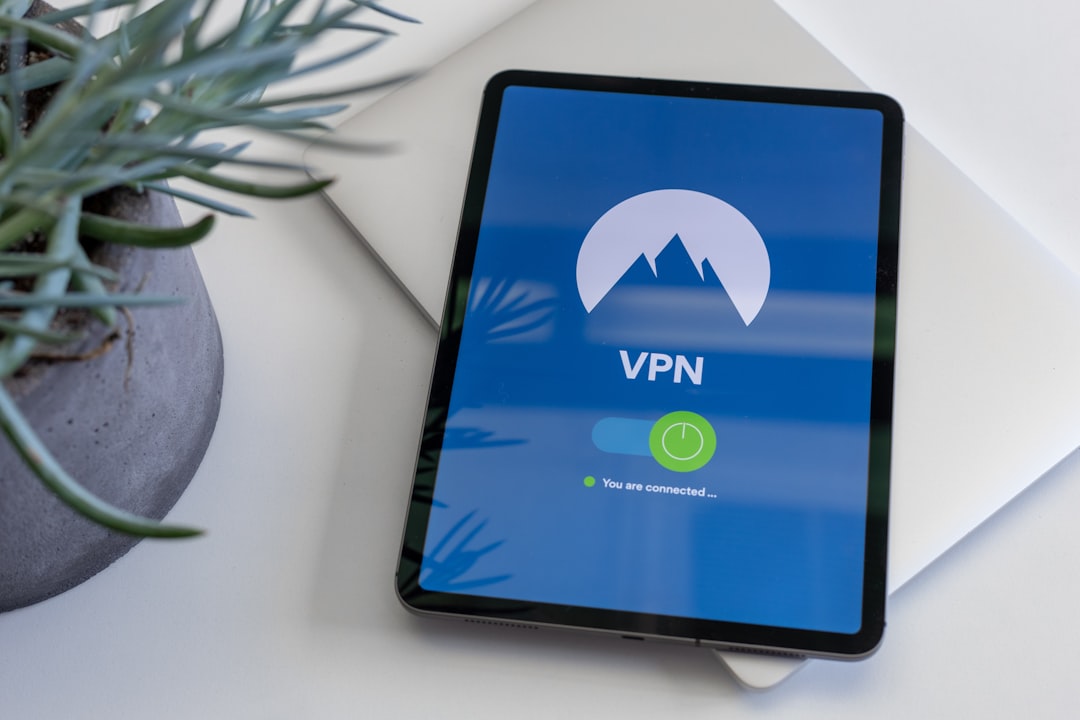
Ever wished all the devices in your home could be protected by a VPN without installing software individually? The solution is simple — install the VPN directly on your router. By doing so, every device connected to your home Wi-Fi will benefit from encryption, geo-unblocking, and enhanced security. If you’re curious to learn how this works, you’re in the right place. In this guide, we’ll walk you through each step in an easy-to-follow, beginner-friendly way.
Why Install a VPN on Your Router?
Before we dive in, let’s explore why you might want a VPN at the router level:
- Whole-house protection: Every device connected to your Wi-Fi — smart TVs, gaming consoles, tablets — automatically connects through the VPN.
- No need for multiple installations: Avoid the hassle of installing the VPN on every device.
- Security by default: Even guests using your network gain the benefits of a secure, encrypted connection.
- Access to geo-blocked content: Stream shows and access content from platforms around the world.
What You’ll Need
Before starting, make sure you have:
- A VPN subscription that supports router installations (like ExpressVPN, NordVPN, or Surfshark).
- A compatible router. Not all routers support VPN — models like ASUSWRT, DD-WRT, or Tomato firmware are ideal.
- Basic networking knowledge
- An Ethernet connection between your PC and router for optimal configuration
Step-by-Step Guide to Installing VPN on Your Router
-
Step 1: Check Router Compatibility
Go to your router manufacturer’s website and look up the model number to see if it supports VPN installation. If it doesn’t, you may need to flash it with a different firmware like DD-WRT or Tomato — an advanced process best left for those with tech experience.
-
Step 2: Choose the Right VPN Provider
Pick a VPN that offers firmware support, has reliable speeds, and strong encryption. Most major VPN providers have detailed setup guides tailored to specific routers.
-
Step 3: Log in to Your Router
Open your browser and enter your router’s IP address, often 192.168.1.1 or 192.168.0.1. Log in using admin credentials. If you haven’t changed them, they’re usually found on a sticker on the router or in the manual.
-
Step 4: Configure VPN Settings
Locate the VPN settings section in your router’s admin panel. Enter your VPN credentials (username, password, server address, etc.) as provided by your VPN service. Depending on your router, this might be under “Advanced Settings” or “WAN.”
-
Step 5: Test the VPN Connection
Once saved, reboot the router. Connect a device to your Wi-Fi, and visit a site like WhatIsMyIP to check if your IP address and location have changed — that means the VPN is working!
Troubleshooting Tips
- No internet? Make sure you entered the correct VPN server address and login details.
- Slow speeds? Try switching VPN servers or choosing a server closer to your actual location.
- Websites won’t load? Ensure DNS settings are correctly configured through your VPN provider’s documentation.
Advanced Options
Some routers allow you to split tunnel traffic, which means certain devices use the VPN while others go through your regular ISP connection. This is ideal if you want streaming devices to show local content while other devices remain protected. This is often found under advanced VPN routing settings or can be configured via custom firmware.
Conclusion
Installing a VPN on your router not only strengthens your home network’s security but also provides convenience and control over all connected devices. Whether you’re streaming international content or safeguarding personal data, making your router VPN-ready is a worthwhile project. With this step-by-step guide, you’re now equipped to take your online privacy to the next level — right from the source of your internet connection.
Comments are closed.